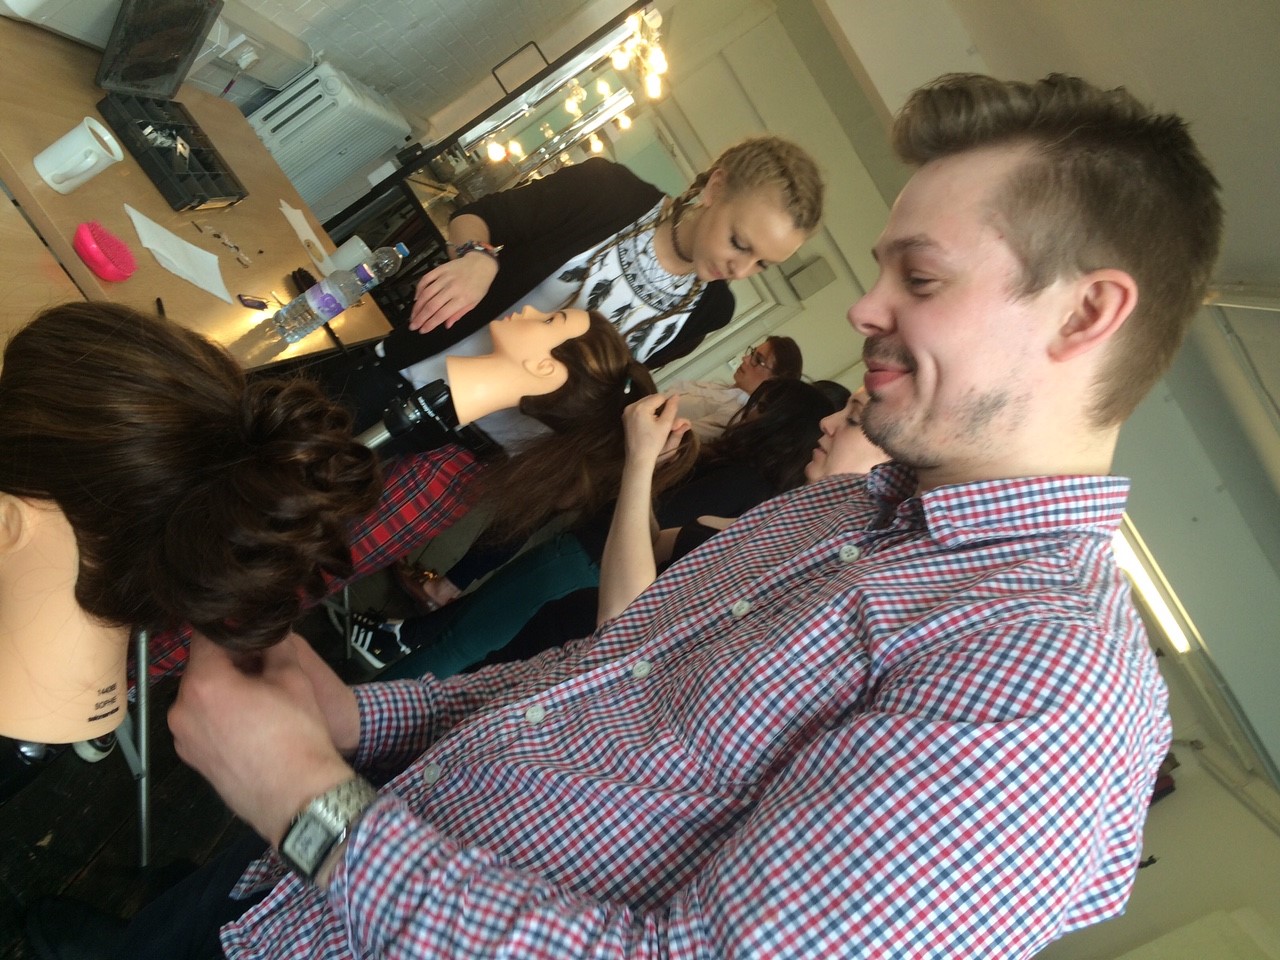
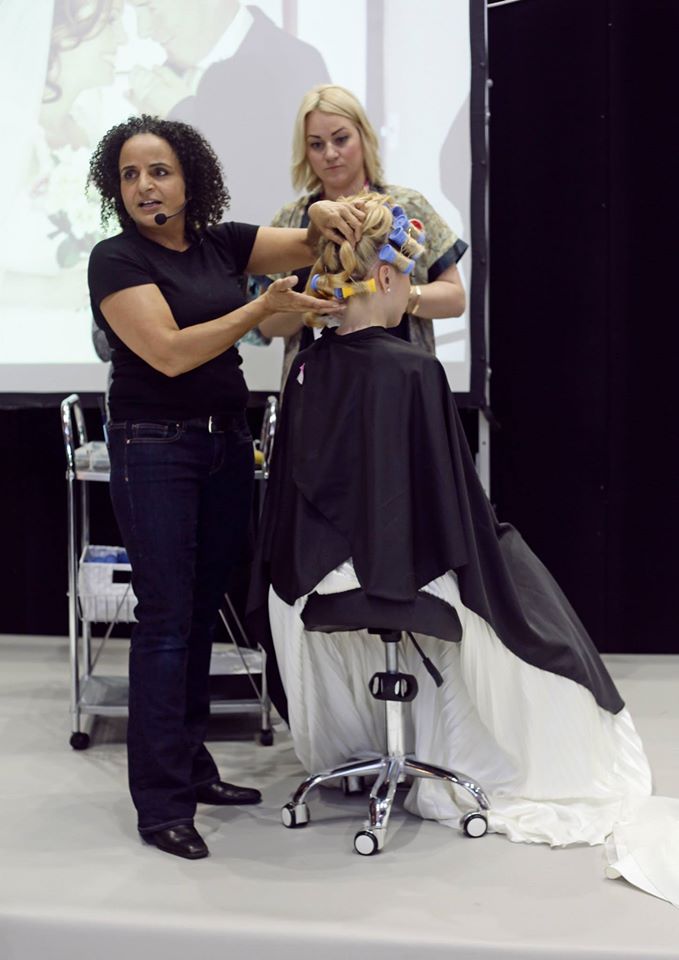
blowdrying courses

Happy Halloween! It’s your last chance to take advantage of our spooky special offer: 25% off ALL one day blowdrying courses and braiding courses. All you have to do is enter our promo code ‘Halloween2016’ at the checkout by midnight tomorrow – our treat for you (no tricks here)! Want to know more about what’s on offer? Here’s … Read more

thumbnail IMG 1464

Bridal hair & Wedding Makeup   Thinking of joining us on one of our courses?   We know that there are lots of other course providers out there and it can be really tough to choose which one to go for. We are the only UK provider offering upto 12mths ongoing training with webinars, videos & unlimited 1-2-1 help & support … Read more

Game of Thrones hair inspiration

Unless you’ve been living under a rock for years, you’re probably well aware that Game of Thrones hair inspiration is a pretty big deal – the fantastical, medieval toned dos have been consistently incredible for years.   If you haven’t noticed this, now is the time to! Lots of brides to be find wedding hair … Read more

braiding course

[vc_row][vc_column][vc_column_text css=”.vc_custom_1466852397755{margin-top: 32px !important;margin-bottom: 32px !important;}”]With our 1 day braiding course now being available nationwide (in London, Manchester, Bristol and Birmingham), we just can’t stop obsessing over all the gorgeous braided hairstyles we keep seeing all over the red carpet events! With so many plaits and braids to learn, and so many ways to use … Read more

MOD4 Vania Oliveira VO Bun with Rope Twist haisrtyle e1455816525737

[vc_row][vc_column][vc_column_text css=”.vc_custom_1487360171829{margin-top: 62px !important;margin-bottom: 62px !important;}”]

We don’t mean to brag (OK, OK, we definitely DO mean to brag…), but our online hair course students are pretty awesome!

There’s over 1500 minutes of video tutorials to get through on our 6 and 12 month online hair course memberships, so every student course submission we get through is a little different. As with any creative venture, hairstyling is as unique to the individual hairstylist as a painting might be to an artist and we just love seeing everyone’s unique flare and what they choose to do with it.

Now that we’ve upgraded our online hairstyling course to include AQA UAS Certificate upon completion, our Create Beautiful Hair students are going off to do bigger and better things than ever before and it’s so exciting to see you flourish.

To kick 2016 off to a running start, we just had to share these amazing hairstyles created by one of our international online students, Vania…

[/vc_column_text][dt_button link=”https://www.createbeautifulhair.co.uk//online-bridal-hair-course/” target_blank=”true” button_alignment=”center” size=”big” color_mode=”default” color=”#888888″]Find Out More…[/dt_button][dt_call_to_action]

Click here for more info on our AQA UAS Certificated Online Bridal Hair Course and how you can sign up today!

[/dt_call_to_action][/vc_column][/vc_row][vc_row][vc_column][vc_single_image image=”17500″ img_size=”full” alignment=”center”][vc_column_text css=”.vc_custom_1452118412394{margin-top: 32px !important;margin-bottom: 32px !important;}”]

This stunning up ‘do is an excellent example of how to incorporate an elegant rope twist into a classic bun for a more contemporary and unique feel. A perfect choice for a summer or destination bride who has opted for a Grecian style dress, to flatter beautiful bone structure and keep her cool on a hot wedding day!

[/vc_column_text][vc_single_image image=”17496″ img_size=”full” alignment=”center”][vc_column_text css=”.vc_custom_1452118657812{margin-top: 32px !important;margin-bottom: 32px !important;}”]

The high ballerina bun is a must have style in any hairstylists repetoire, but sometimes without a few little extra touches, they can be quite severe. Here, Vania has chosen to give a little lift at the front to soften the edges, and the braid wrapped around the base of the bun gives that perfect final touch, without taking away from the main bulk!

[/vc_column_text][/vc_column][/vc_row][vc_row][vc_column][vc_single_image image=”17497″ img_size=”full” alignment=”center”][vc_column_text css=”.vc_custom_1452118844775{margin-top: 32px !important;margin-bottom: 32px !important;}”]

This is a wonderful use of pin-curls and is a great style for brides with naturally thick, curly hair. Curly hair can be quite unruly and difficult to work with if you haven’t got your technique quite right, but here, Vania has used our online tutorials to the best of her and her model’s advantage! A fabulous style, full of volume and texture.

[/vc_column_text][vc_single_image image=”17498″ img_size=”full” alignment=”center”][vc_column_text css=”.vc_custom_1452119066461{margin-top: 32px !important;margin-bottom: 32px !important;}”]

Creating a beautiful hairstyle is about so much more than putting the hair up correctly (although this is, of course, important too!) – it’s also about helping your client find a style that is perfect for them. Here, Vania has chosen a chic, vintage inspired style that helps bring out all of her model’s gorgeous features, and fits in just right with her makeup and look.

[/vc_column_text][/vc_column][/vc_row][vc_row][vc_column][vc_single_image image=”17495″ img_size=”full” alignment=”center”][vc_column_text css=”.vc_custom_1452119315729{margin-top: 32px !important;margin-bottom: 32px !important;}”]

A glamourous half up half down do never fails to impress, particularly if your client is wanting to show off her hair length or wear extensions on her big day. Here, Vania has created a gorgeous, relaxed curl for a lovely, bouncy finish and has used Pam’s ‘up and over’ technique to secure the twist at the back firmly, without the need for tons of grips and discomfort!

[/vc_column_text][/vc_column][/vc_row]
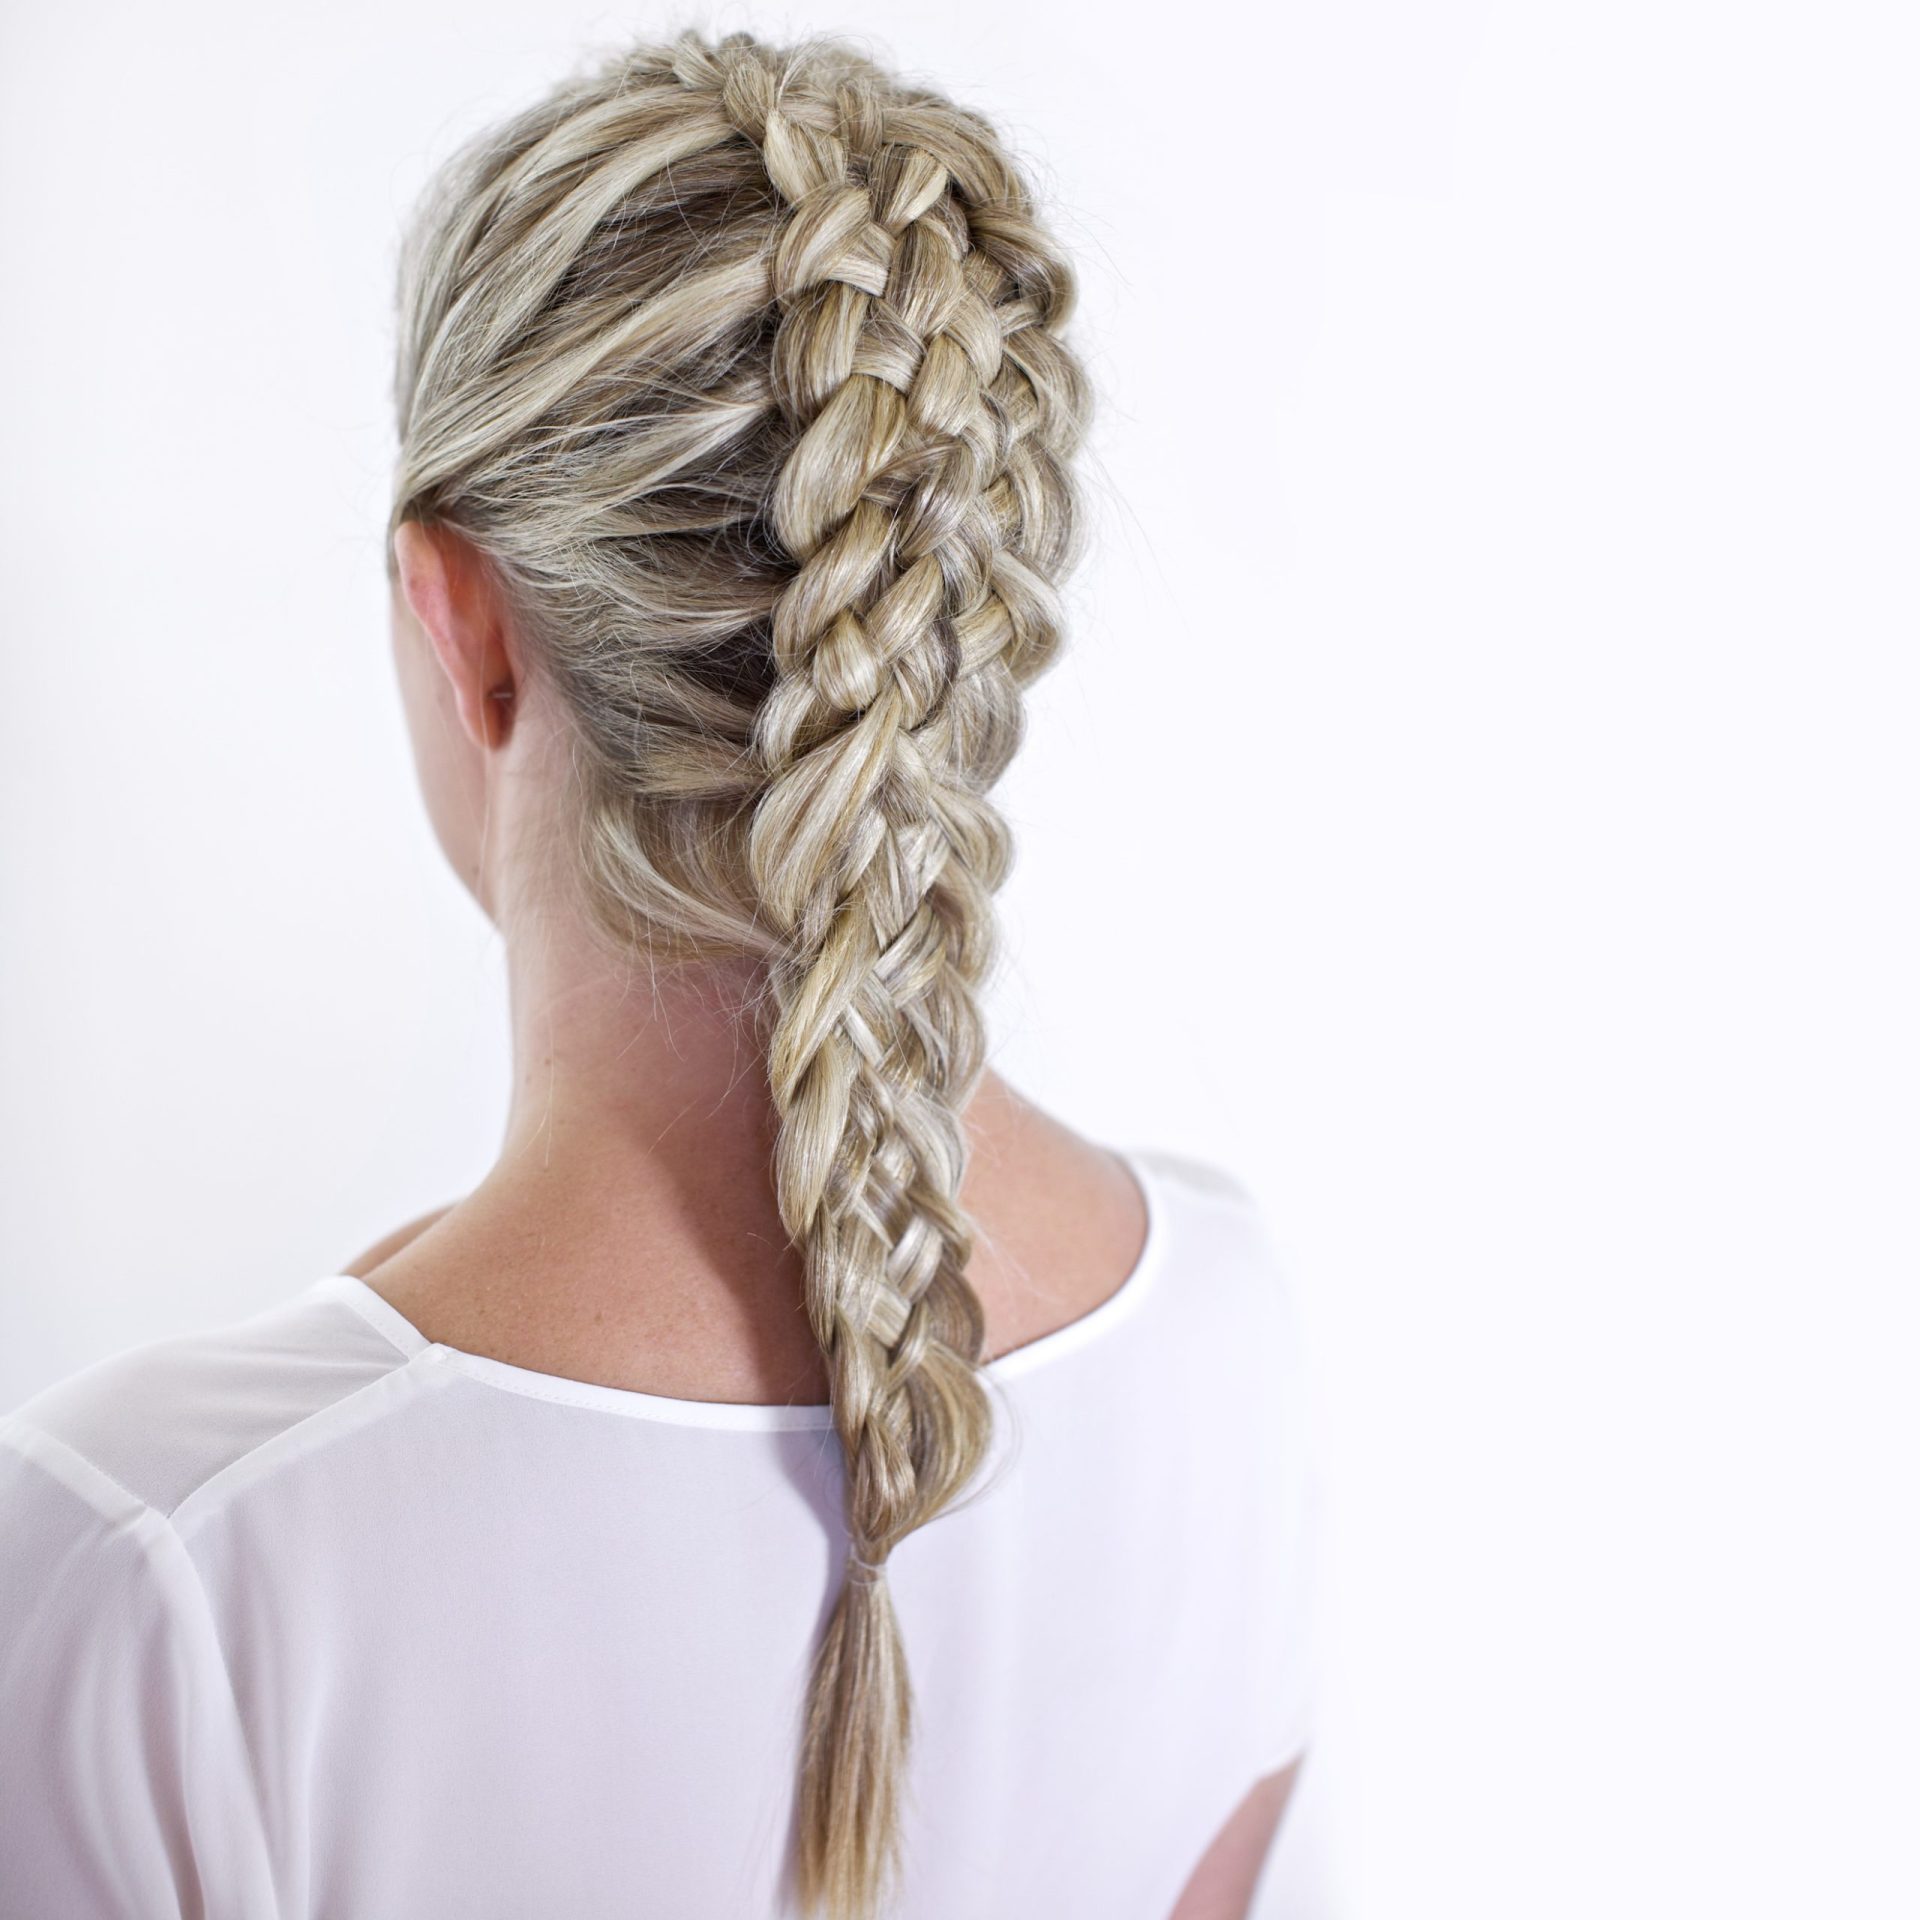
IMG 5958 41 scaled

[vc_row full_width=”” margin_top=”-51″ margin_bottom=”0″ padding_left=”0″ padding_right=”0″ bg_position=”top” bg_repeat=”no-repeat” bg_cover=”true” bg_attachment=”true” padding_top=”0″ padding_bottom=”0″ enable_parallax=”” parallax_speed=”0.1″ bg_type=”no_bg” bg_grad=”background: -webkit-gradient(linear, left top, left bottom, color-stop(0%, #E3E3E3));background: -moz-linear-gradient(top,#E3E3E3 0%);background: -webkit-linear-gradient(top,#E3E3E3 0%);background: -o-linear-gradient(top,#E3E3E3 0%);background: -ms-linear-gradient(top,#E3E3E3 0%);background: linear-gradient(top,#E3E3E3 0%);” parallax_style=”vcpb-default” bg_image_repeat=”no-repeat” bg_image_size=”cover” bg_img_attach=”scroll” parallax_sense=”30″ animation_direction=”left-animation” animation_repeat=”repeat” video_opts=”” viewport_vdo=”off” enable_controls=”off” bg_override=”0″ parallax_content_sense=”30″ fadeout_start_effect=”30″ overlay_pattern_opacity=”80″ overlay_pattern_attachment=”fixed” multi_color_overlay=”” multi_color_overlay_opacity=”60″ seperator_type=”none_seperator” seperator_position=”top_seperator” seperator_shape_size=”40″ seperator_svg_height=”60″ seperator_shape_background=”#ffffff” seperator_shape_border=”none” seperator_shape_border_width=”1″ icon_type=”no_icon” icon_size=”32″ icon_style=”none” icon_color_border=”#333333″ icon_border_size=”1″ icon_border_radius=”500″ icon_border_spacing=”50″ img_width=”48″ ult_hide_row_large_screen=”off” ult_hide_row_desktop=”off” ult_hide_row_tablet=”off” ult_hide_row_tablet_small=”off” ult_hide_row_mobile=”off” ult_hide_row_mobile_large=”off” bg_image_new=”16074″ disable_on_mobile_img_parallax=”off” bg_image=”/wp-content/uploads/2015/05/create-beautiful-hair-makeup-training-006B.jpg”][vc_column width=”1/2″][vc_empty_space height=”32px”][vc_column_text]

Coming Soon….

1 Day Braiding Course

[/vc_column_text][vc_empty_space height=”32px”][dt_vc_list style=”1″ bullet_position=”top” dividers=”false”]

  • Learn how to create beautiful braids & plaits!
  • Stunning braided styles for all occasions
  • French, Waterfall, Fishtail, Lace, Zipper and lots more…
  • Access to online training included!

[/dt_vc_list][vc_empty_space height=”32px”][vc_column_text]

Price: £195

Location: London

Entry requirement: Suitable for all levels, must love working with hair!

[/vc_column_text][vc_column_text]
[/vc_column_text][vc_empty_space height=”32px”][/vc_column][vc_column width=”1/2″][vc_empty_space height=”62px”][vc_single_image image=”16660″ border_color=”grey” img_link_large=”” img_link_target=”_self” img_size=”large” alignment=”right”][/vc_column][/vc_row][vc_row full_width=”” margin_top=”0″ margin_bottom=”0″ padding_left=”0″ padding_right=”0″ bg_position=”top” bg_repeat=”no-repeat” bg_cover=”true” bg_attachment=”false” padding_top=”30″ padding_bottom=”30″ enable_parallax=”” parallax_speed=”0.1″ bg_type=”no_bg” bg_grad=”background: -webkit-gradient(linear, left top, left bottom, color-stop(0%, #E3E3E3));background: -moz-linear-gradient(top,#E3E3E3 0%);background: -webkit-linear-gradient(top,#E3E3E3 0%);background: -o-linear-gradient(top,#E3E3E3 0%);background: -ms-linear-gradient(top,#E3E3E3 0%);background: linear-gradient(top,#E3E3E3 0%);” parallax_style=”vcpb-default” bg_image_repeat=”repeat” bg_image_size=”cover” bg_img_attach=”scroll” parallax_sense=”30″ animation_direction=”left-animation” animation_repeat=”repeat” video_opts=”” viewport_vdo=”off” enable_controls=”off” bg_override=”0″ parallax_content_sense=”30″ fadeout_start_effect=”30″ overlay_pattern_opacity=”80″ overlay_pattern_attachment=”fixed” multi_color_overlay=”” multi_color_overlay_opacity=”60″ seperator_type=”none_seperator” seperator_position=”top_seperator” seperator_shape_size=”40″ seperator_svg_height=”60″ seperator_shape_background=”#ffffff” seperator_shape_border=”none” seperator_shape_border_width=”1″ icon_type=”no_icon” icon_size=”32″ icon_style=”none” icon_color_border=”#333333″ icon_border_size=”1″ icon_border_radius=”500″ icon_border_spacing=”50″ img_width=”48″ ult_hide_row_large_screen=”off” ult_hide_row_desktop=”off” ult_hide_row_tablet=”off” ult_hide_row_tablet_small=”off” ult_hide_row_mobile=”off” ult_hide_row_mobile_large=”off” type=”1″ bg_image=”/wp-content/uploads/2015/11/BACKGROUND-cbh2.jpg”][vc_column width=”1/2″][vc_single_image image=”16400″ border_color=”grey” img_link_large=”” img_link_target=”_self” img_size=”full”][/vc_column][vc_column width=”1/2″][vc_column_text]

What’s Included?

[/vc_column_text][vc_empty_space height=”32px”][dt_vc_list style=”1″ bullet_position=”top” dividers=”true”]

  • Learn how to create beautiful plaits and braids on our 1 day braiding course
  • Stunning styles suitable for special occasions or everyday wear
  • Stay up to date with all the latest Prom & Bridal braiding trends
  • Get qualified! Complete our braiding course for your CBH Certificate
  • A ‘Must Have’ course for all bridal stylists!

[/dt_vc_list][vc_empty_space height=”32px”][/vc_column][/vc_row][vc_row][vc_column width=”1/2″][vc_empty_space height=”32px”][vc_column_text]

Find Out More…

[/vc_column_text][vc_empty_space height=”32px”][vc_column_text]

Want to know more about our 1 day braiding course and upcoming dates? Get in touch.

[/vc_column_text][/vc_column][vc_column width=”1/2″][vc_empty_space height=”32px”][vc_single_image image=”16658″ border_color=”grey” img_link_large=”” img_link_target=”_self” img_size=”large” alignment=”right”][/vc_column][/vc_row][vc_row][vc_column width=”1/4″][vc_column_text]
[/vc_column_text][/vc_column][vc_column width=”1/4″][vc_column_text]
[/vc_column_text][/vc_column][vc_column width=”1/4″][vc_column_text]
[/vc_column_text][/vc_column][vc_column width=”1/4″][vc_column_text]
[/vc_column_text][/vc_column][/vc_row]
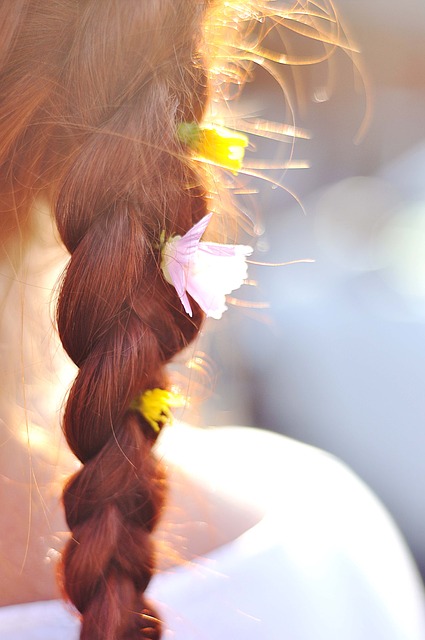
hair 741769 640

[vc_row][vc_column width=”1/1″][vc_column_text]

For the premiere of Man Men series 7 January Jones rocked a twisted French braid and a unique makeup look – blue eyeliner on the top lashes and gold on the bottom. This pretty summer style is actually three braids in one using a trio of techniques to create an undone, twisted look.

[/vc_column_text][vc_empty_space height=”32px”][/vc_column][/vc_row][vc_row][vc_column width=”1/2″][vc_column_text]

How to

Step one: Begin with freshly washed hair and while it is still damp apply some mousse which will help to make styling easier.

Step two: While you are blow dying, back comb the hair and mist over with some finishing spray to tame flyaways.

Step three: Now that the hair is dry apply a small amount of oil through the mid lengths to the ends as this will make the hair much easier to braid.

Step four: Now you can begin braiding. Split the hair into three sections, left, right, and bottom, allowing the parting to fall naturally. Start with the section on the right and form a French braid. It should begin right at the very top of the head and finish at the lower neck. Secure with a clear hair elastic.

Step five: Next, take hold of the section on the left hand side. This should be used to make a rope braid right along this side. When you have finished you can connect this braid with the one on the right, using a clear hair elastic.

Step six: You should have one section of unbraided hair left. Use this to create a regular braid, braiding tightly from the top to the bottom. Fix with and elastic when you get to the end.

Step seven: Take hold of the three separate braids and plait together to make one finished braid. Secure it with another clear elastic. If there are strands which naturally frame the face then gently bend these with hair straighteners. Once you are happy you can spray all over the hair with finishing spray.[/vc_column_text][/vc_column][vc_column width=”1/2″][vc_column_text]

[/vc_column_text][/vc_column][/vc_row]
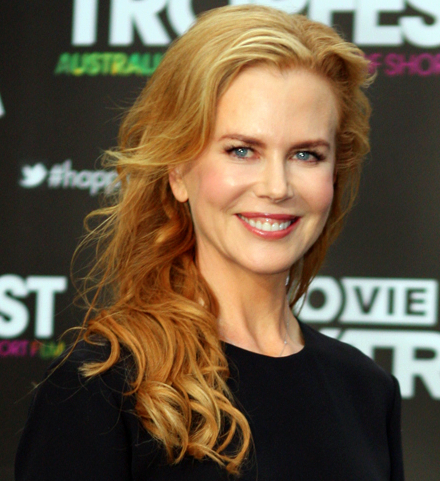
Nicole Kidman 2012 cropped

[vc_row][vc_column width=”1/1″][/vc_column][/vc_row][vc_row][vc_column width=”1/2″][vc_column_text]

Today, we’re taking a look back for one of our favourite up dos which came from Nicole Kidman back in 2013. We have put together a quick ‘how to’ of our own version of this pretty curved lace braid for you to try your hand at…

[/vc_column_text][vc_empty_space height=”32px”][vc_column_text]Step 1: You need to start off by adding in lots of texture as it will not work well on sleek, glossy hair. If the hair has been freshly washed then comb through mousse and tousle it as you blow dry.

Step 2: Set the hair in hot rollers and leave them in for five minutes, or alternatively curl with tongs and once cool comb through with your fingers to separate up the ringlets.

Step 3: Take hold of a section of hair just above the left ear and create a lace braid from the left to the right adding in pieces of hair as you go. Once you have braided across the middle of the head you can begin to curve the braid down until you reach the right ear. Finish the braid off as a regular plait and secure with a clear hair band.

Step 4: Start at the left side again and create a second lace braid just under the first. Braid in exactly the same way again curving once you reach the middle of the head; make sure that you add in hair from the hairline as you curve round pulling in all of the hair. Finish with a regular plait and secure with another hair band.

Step 5: Roll up the second braid to make a spiral and fix in place with bobby pins.

Step 6: Take hold of the first braid and curl it round the second braid and again pin in place.[/vc_column_text][/vc_column][vc_column width=”1/2″][vc_column_text]

[/vc_column_text][vc_column_text]

[/vc_column_text][/vc_column][/vc_row]
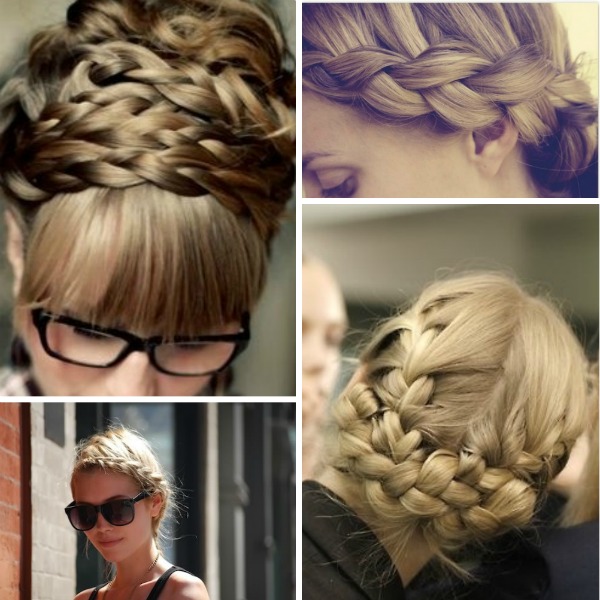
braids

[vc_row][vc_column width=”1/1″][/vc_column][/vc_row][vc_row][vc_column width=”1/1″][vc_column_text]

With braids all the rage, we took a look back at the archives and spotted this ‘do from Hilary Duff. Back in 2010 she rocked this look at the book signing of her novel Elixir. The beauty of it is that it is not initially clear how many braids there are, where they start, or where they finish. It is quite a difficult look to recreate but we have broken it down into a step by step guide for you to follow. The style obviously works best on those with long hair, either wavy or straight.

[/vc_column_text][vc_empty_space height=”32px”][/vc_column][/vc_row][vc_row][vc_column width=”1/2″][vc_column_text]Step 1: Divide hair up into four separate sections; one at the top, bottom, left and right. Clip up all of the sections except for the one on the right.

Step 2: With this section do a slightly loose French braid until you reach just behind the ear and then change to a regular braid. When you come to the end secure it with a clear band.

Step 3: Now do exactly the same with the section on the left side.

Step 4: Take the section at the top of the head and again French braid until you get to the crown where you switch to the regular braid.

Step 5: Divide up the bottom section into five separate sections and braid each one into a regular braid, securing with clear bands.

Step 6: With each of the five bottom braids you now need to wrap them from left to right, pinning them as you go.

Step 7: Take hold of the side braids and weave them together to create a swirly shape, making sure that you tuck any ends under. Again as you go make sure to pin them in place.

Step 8: With the area that is left at the top of the head, fill this space by swirling the final braid. This should also give the style some height. Pin as you go and then spray over with some strong hold hairspray to keep everything in place.[/vc_column_text][vc_empty_space height=”32px”][/vc_column][vc_column width=”1/2″][vc_column_text]

[/vc_column_text][/vc_column][/vc_row]

We love the glamour of an updo and are always looking for something a little bit different, so Bella Thorne’s fishtail braid chignon has left us more than inspired. From the front it appears to be a classic chignon, but from behind you can admire the intricate braiding. This look is easier to create than you would think and it is perfect for evening wear or even as a bridal updo.


Step one:

To get the best results you need to make sure that you hair is completely free from any knots so give it a thorough brush through first. You can either start with freshly washed and dried hair or use a touch of dry shampoo on your roots to freshen up.

Step two:

Begin by splitting your hair down the centre parting. You want to start with the right hand section of hair so tie up the left hand side to keep it out of the way.

Step three:

With the right hand side of hair divide this in two. To create the fishtail braid hold a section in each hand and then pull a small amount loose from the right side and pass it to the left. Now do this from the left side to the right and keep doing this until you reach the bottom. Secure in place with a clear hair elastic.

Step four:

Now you can release the hair that you tied up on the left hand side of your head and repeat the previous step on it.

Step five:

With both braids now completed you can entwine them around each other, twisting upwards into a chignon. Secure in place with bobby pins. Once both braids are complete, twist them around each other and upward into a chignon at the back of your head.

Step six:

Pull out a few pieces of hair around your face to create a romantic frame and then mist over with hairspray to create hold.

By Gemma